Showing posts with label Christmas. Show all posts

Monday, 3 December 2012

Magic Snow~ Christmas Sensory Play


We live in Australia. We also live in a part of Australia that never experiences snow!
Snow isn't something that Miss M has any tangible experience with, yet at the moment in the lead up to Christmas, she is seeing it on TV and in books and hearing about it quiet a bit! Christmas where we live is... well... mostly hot!


Her favourite DVD at the moment is Disney The Fairies, Secret of the Wings. She would happily watch it everyday and I do have to hide it away.
 Out of sight out of mind.
It is however, a lovely movie and has stunning snow scenes that make you wish you were really there! I could watch it every day too lol!


Her favourite book 'How Big is a Million?' also features a snowy, wintry landscape.


As do many of her favourite Christmas books.
We do have Australian ones also.

We have had plenty of discussions about the weather and what snow is and what it might feel like. We know it is cold. "The winter woods are too cold for the warm fairies wings Mummy". We can see in the books that you wear warm clothes and shoes when it snows and that's why Santa wears a big red cosy suit.
He will get hot when he comes to our house won't he!!


We were blessed with a wintry storm not too long ago that provided plenty of hail
and we played with ice and did ice paintings. Which let us experience how cold it might be.


Then I remembered that somewhere I had some magic snow that I had used with a class when learning about weather. This stuff was wonderful and it is reusable!
And I found it without too much looking.


As you can see it wasn't too expensive and can be used again.
I purchased it at a National Geographic Shop from memory!
I made sure to be clear with Miss M that this was not real snow but that it was only 'pretend' and that it was like magic because when you added the water it went a little bit like snow! I explained that if it were real snow it would melt like ice and turn into water because it is so warm where we live.


If you can't get a hold of anything like this but think your child would love sensory play with 'pretend' snow then you could try using cloud dough or moon sand.
Here Miss M is playing with some dinosaurs in cloud dough.
Or you could try using shaved/crushed ice!

To make cloud dough you will need

Approx 4 cups of plain flour
Mixed with 1 cup of baby oil
(you could use any oil really but baby oil is nice and light and smells nice)

Use more or less depending on the quantity you want to make.

The only thing about cloud dough is that it is not cold as like the magic snow and it doesn't feel as wet. You could perhaps put it in the fridge.

Alternatively try using crushed ice, which you can make easily if you have an ice crusher. Just be warned if you live where it is warm it will likely melt quickly, especially with warm little hands playing.


The great thing about magic snow is that it does feel cold and wet.
It feels like tiny mashed up water beads, which is likely what it is, although nowhere on the packaging mentions what it is made off.
Just be sure that your little one won't try and eat it. If they are likely to, then avoid this one. Make sure your child washes their hands after playing.


We collected a few props that she wanted to play with in the magic snow!
These little Santa and Christmas tree were perfect!


Here is the wintry scene Miss M created. As she played she wanted to add different things, like presents under the Christmas tree and we need a seal for Pipkin to play with Mummy! Lucky we had one in her Zoo set.
Fun, imagination, creativity, storytelling and retelling stories were all inspired by this sensory play!

The best part is that we can do it all again tomorrow!!

Enjoy

Play and Learn

Katey


If you enjoyed this post please feel free to share it and comment! I enjoy reading them all!

Wednesday, 28 November 2012

Foorprint Reindeer ~ Christmas Wrapping Paper


This has to be the cutest idea for making your own wrapping paper and it was honestly super easy to do!!

It suits absolutely all ages from tiny newborns to big kids and even adults.
It's easy and quick to make quite a bit of wrapping paper so you'll have those presents wrapped in no time!!

You will need

long strip of paper- I used about 1.5 metres
cut off from a roll of easel paper purchased at Ikea.

Paint of whatever colours you like.
Miss selected her choice of 'Christmas colours'
which included red, green and of course pink!

Trays for the paint, big enough for your child/ren to step in.

A tub or bucket with warm soapy water for washing feet

A towel for drying feet/ optional

It was a windy day so we needed some brick pavers to hold everything down but it's a good idea anyway to place something on the strip of paper so it stays put tight as your children walk along it.


As an Early Childhood teacher I have done quite a bit of footprint art and this is the best way I have found to set it up.


Children who are walking can easily step into a tray of paint then step onto the paper and walk along it to the other side where they then step into the tub of water to clean their feet before coming back for another colour. Of course they don't have to wash their feet if your, you could make some gorgeous two toned reindeer's.

If you wanted your reindeer's facing both ways they could step into the paint and walk back.

Make sure that your strip of paper isn't too long that the paint wears of before they get to the end. 1.5metres is good.

You can easily do this with non walking children and babies also.
My 11 month old giggled the whole time as I held him as he stepped into the paint and I took prints off his feet.


I wasn't able to get a photo of the H man making his prints as you can imagine, however you can see his little footprints next to his sisters.

We had soooo much fun doing this that we made about 6metres of wrapping paper!
I just kept adding another strip from the roll!
Miss M did not want to stop but hey, now I have enough wrapping gorgeous wrapping paper to well and truly last.

Some might even get framed I think!!!

I think just like this is pretty cute and any relative would love to get a gift wrapped with these precious footprints.

You could also do hands prints!


To turn those precious footprints into reindeer's simply draw with black marker some eyes and antlers. We added sticky dots as the nose.

Personally I think this would even look better if your little one drew the antlers and the eyes. There's nothing quite like a child's representation. Miss M was happy enough sticking on her sticky dots as noses!


Of course she wanted to go swimming in the tub didn't she!
Filled it up with fresh water and there went another hour for one very happy and busy little girl!

I hope you enjoy,

Play and Learn

Katey

If you enjoyed this post please feel free to share and leave a comment. Thanks


Monday, 26 November 2012

Magical Ice Painting ~ Christmas wrapping paper


Miss M loves Ice Painting and we have done it a variety of different ways such as using it to experiment with colour mixing, hiding objects in the ice to find as the ice melts and just plain painting with Ice for fun.

Regardless of how you choose to paint with ice your child will be experiencing their sense of touch as they respond to coldness of the ice. They will be investigating about solids and liquids as they see the liquid turn solid as ice when made very cold in the freezer, then be amazed as it turns back into liquid as it melts with their warm touch. They will be using their creativity and knowledge of shape, colour and lines as they use the ice to paint.

I wanted to use the ice painting as Christmas Wrapping paper so we added a little bit of magic!!


This activity was brilliantly timed thanks to Mother Nature.
On the Friday we put our ice trays filled with magical water into the freezer to turn to ice thinking we may get to paint with it over the weekend.

On Saturday afternoon we had a huge hail storm where ice literally fell from the sky!
Here is one of our downpipes.


We collected some of the hail to keep as ice in the freezer and watched as the rest of the hail melted away in the humid November weather.


Miss M was very happy the hail she collected.
She was not so happy with the very loud sound it made on our patio roof as it came down! Hail can be noisy!!


Here is one of the ice block trays we made to use.
I found this tray at Ikea a number of years ago and it has been well used as painting ice in my classroom and at home!

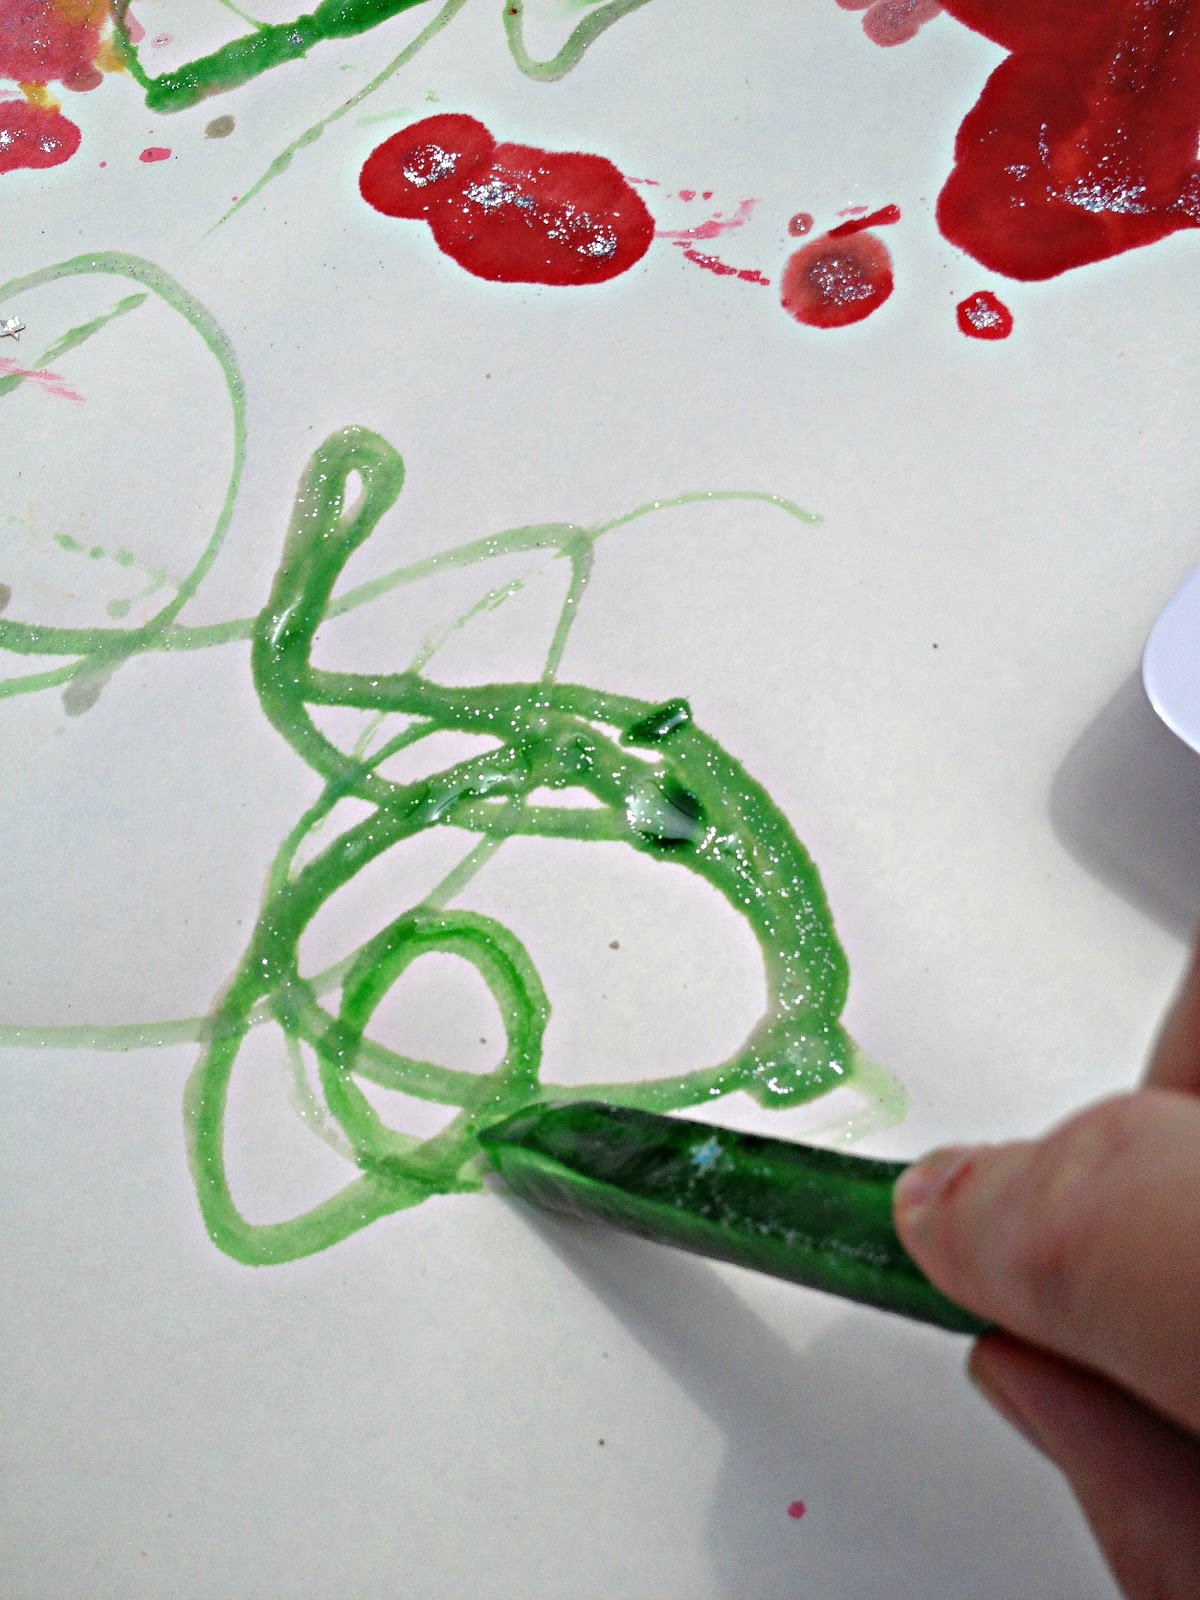
We choose 3 colours, red, green and yellow and we added glitter to the water. To make the coloured water we just added a few drops of food colouring. You want it quite dark so that it shows up brightly on the paper.
When you do this you will see that the glitter floats to the top, which is great as it looks impressive for little eyes!


We also made a smaller tray of ice blocks and I added a magical surprise inside some of them. I didn't do all of them as I planned on letting my 11month old do some ice painting also and these would pose a choking hazard for him.


Our Ice blocks ready to go!
The long stick ice blocks are fantastic for little hands and make drawing shapes, lines and writing with the ice lots of fun!


We did this outside and it was a little windy, hence the brick pavers used to hold everything down.

H man did pick up an ice block but I was not quick enough to get a photo before he decided, nah I don't want to do this...


...I'd rather play with the ball. Which was fine.
If your child has other ideas go with it, it's no fun for anyone otherwise. They may decide to come back to the task or not but for H man he wanted to play ball instead.
If your baby does want to paint however, always supervise carefully.


Miss M making swirly whirly patterns with the ice!


The glitter came off the ice and onto the paper really well.
I was soooo impressed with it!!


Older children could write or draw Christmas themed shapes.
If you weren't making Christmas wrapping paper you could use ice painting for
  • letter writing practise
  • number writing practice
  • name writing practise
  • shape drawing practise
  • Investigating colour mixing
Remember to
  • Talk with your child about what they are doing, seeing, feeling. Give them words for their actions.
  • Ask questions about what they are doing, seeing, feeling. Ask them what is happening to the ice.
  • Ask them to tell you about what they are doing.
  • Get them to tell you about their picture.
  • Make it real and meaningful for them, tell them for example "We are going to use this art that you create to wrap up Nana's Christmas present".
  • Relate it and link it back to real life experiences, "Remember when it hailed? Can you remember what hail is? What happened to the hail? That's what's happening to our ice.


As he played with the ball we left H man's ice to melt as it was.
Looks pretty effective also!


Wow look at that melted magical ice!

Grab some paint brushes and paint with it.
That's what we did!!!


Playing with coloured ice can make little hands a bit messy.
The food colouring does stain the skin but rest assured it comes off after a couple good hand washes with soap.

The experience is definitely worth it!!

Miss M was asking for more magical ice so I can see that we will be doing this one again very soon. Luckily it was so very simple.

It's a great activity for a warm day and you may even get some beautiful Christmas Wrapping paper to wrap up something special!

Stay tuned for more Home Made Christmas Wrapping Paper when I finish my post on Christmas Wrapping Paper 6 ways!

Enjoy

Play and Learn

Katey

If you enjoyed this post please feel free to share it